rid3xyoy
Yes, it’s definitely possible to use aaPanel with your own DNS server like ns1.domain.com and ns2.domain.com. Here’s a step-by-step guide to set it up properly:
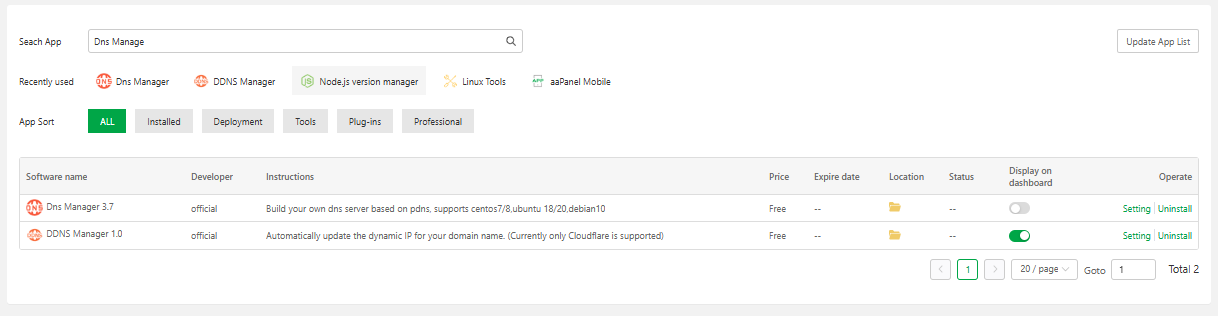
1. Install the DNS Manager Plugin
- Go to the aaPanel App Store and install the DNS Manager plugin. This will allow you to manage DNS records directly from aaPanel.
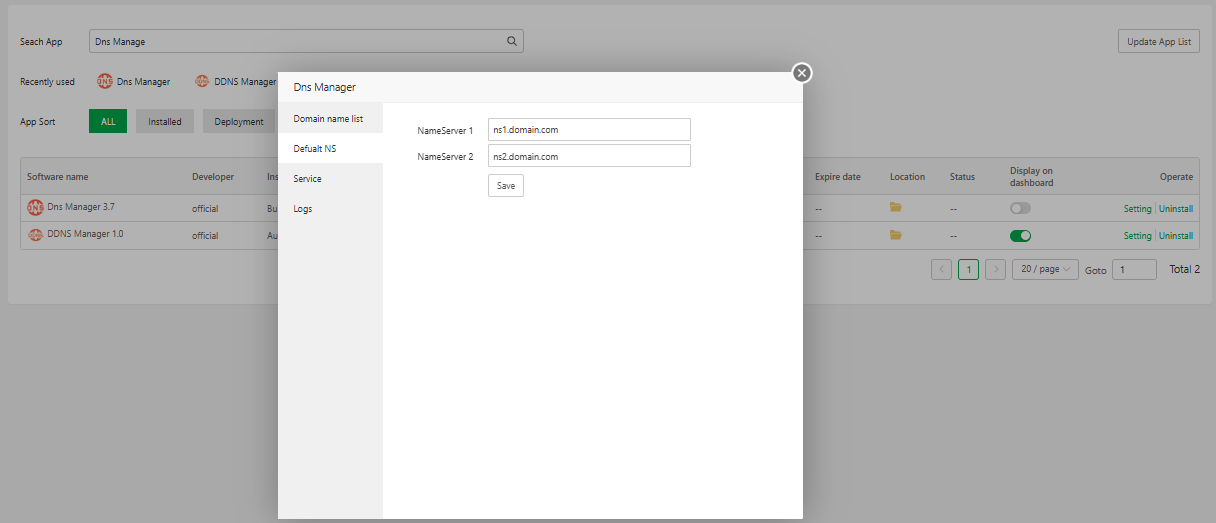
2. Set the Hostname and Nameservers
Once the plugin is installed:
Set a hostname like server.domain.com by running the following command in your terminal:
hostnamectl set-hostname server.domain.com
Verify the hostname:
hostnamectl status
Make sure the hostname reflects the one you’ve set.
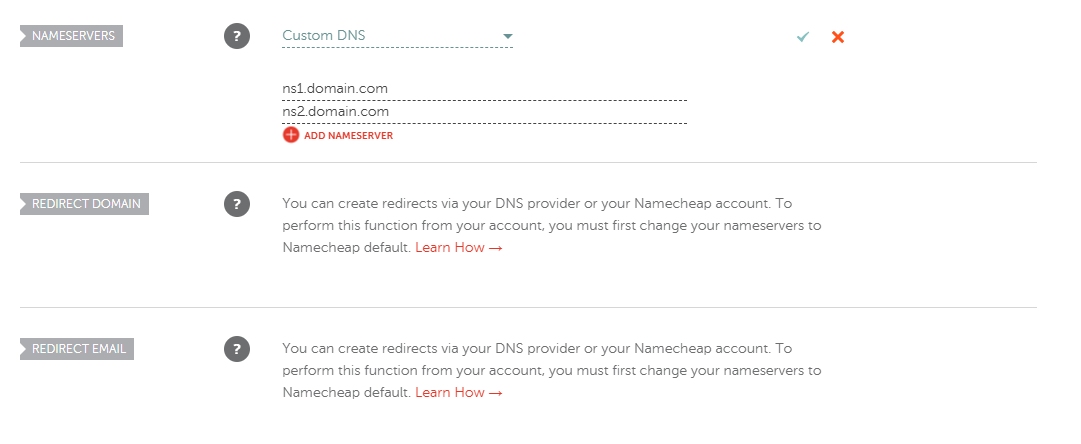
Configure your nameservers, such as ns1.domain.com and ns2.domain.com.
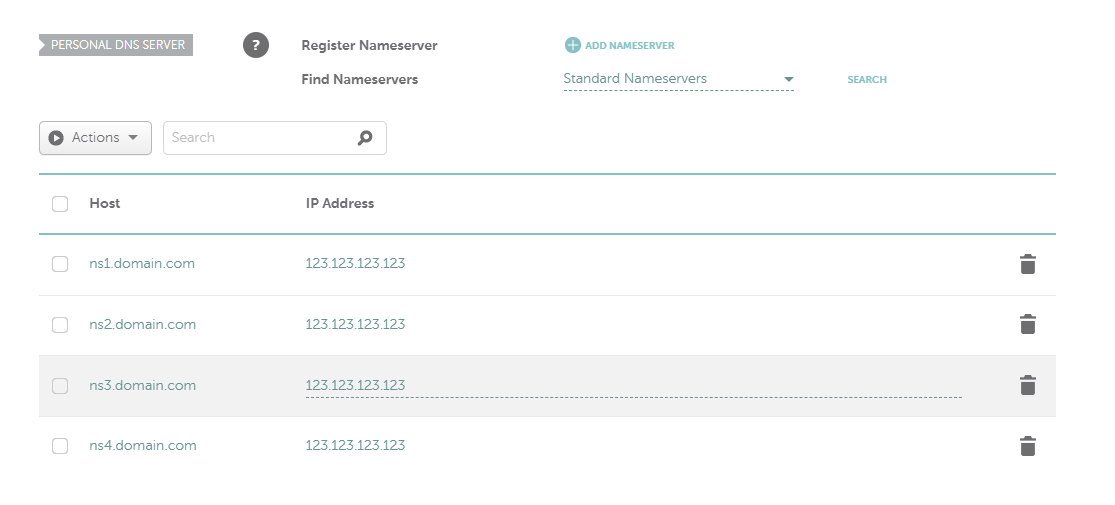
3. Point Nameservers to Server IP Address
At your domain registrar, you’ll need to point the nameservers to your server’s public IP address. This step is crucial for your nameservers to work correctly.
For example:
ns1.domain.com → 123.123.123.123 (Your server’s IPv4) ns2.domain.com → 123.123.123.123 (Your server’s IPv4) ns3.domain.com → 123.123.123.123 (Your server’s IPv4) ns4.domain.com → 123.123.123.123 (Your server’s IPv4)
4. Configure Your Domain Registrar
After pointing the nameservers to your server’s IP, make sure to set your custom nameservers (ns1.domain.com and ns2.domain.com) for the domains you want to manage through aaPanel.
5. Connect and Manage Multiple Domains
Once the nameservers are set and pointing correctly, you can connect multiple domains and manage DNS records (like A, CNAME, MX, and TXT) directly from aaPanel’s DNS Manager.
This setup should cover everything you need for a smooth and efficient DNS management experience. Let me know if you run into any issues or need further assistance!