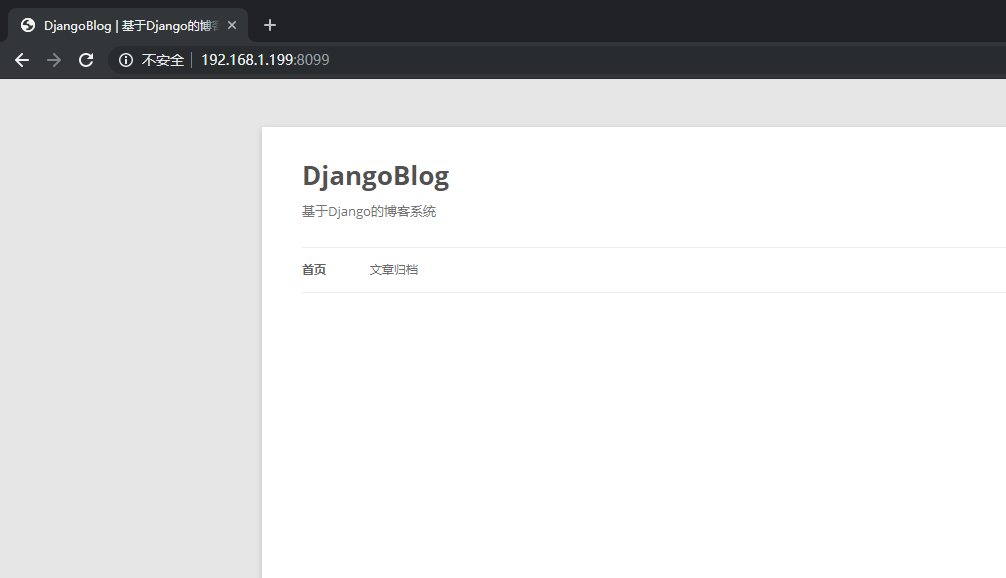
Our test project: https://github.com/liangliangyy/DjangoBlog
panel: aaPanel
1. Go to the directory where you will store the code
`cd /www/python/flask`
2. Run the git clone command on your terminal to get the project
git clone https://github.com/liangliangyy/DjangoBlog.git
3. Install the python version your project needs
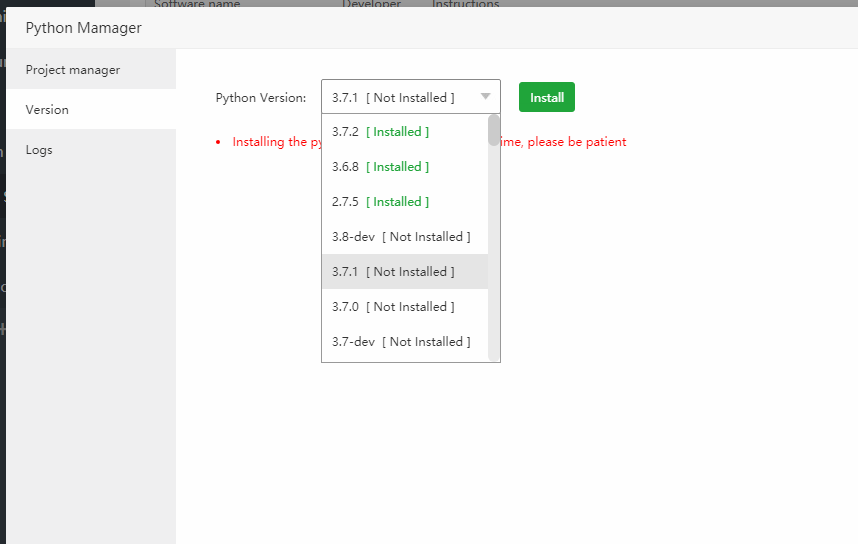
4.Start adding python projects
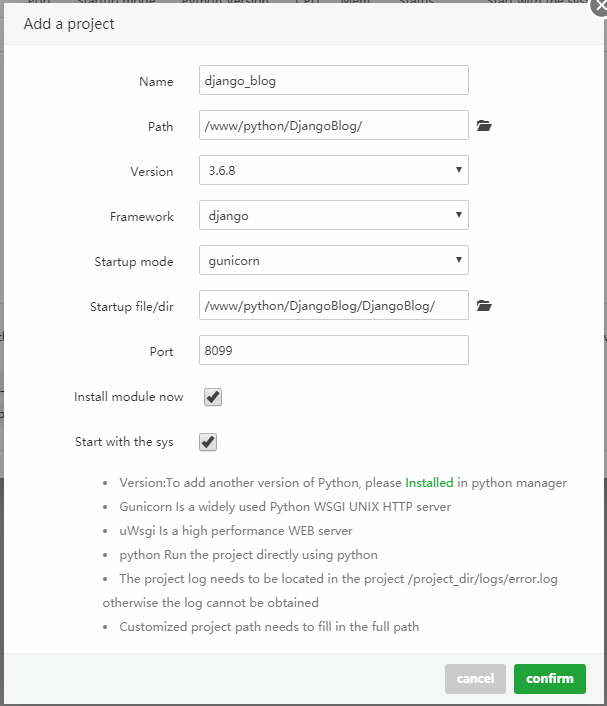
Parameter Description:
- Name: Give your project a name
- Path: Select the root directory of the project
- Version: Choose the python version your project needs
- Framework: The project project framework, my project here is Flask, so choose django
- Startup Mode: Choose gunicorn here, You can switch other options according to your needs.
- Startuo file/dir: In general, diango selects the project directory to start, and flask selects the py file to start.
- Install module now: When adding a project, install the required modules according to the documentation of the project root directory requirements.txt.
When we finish project creation, we can’t open the project normally.We need to initialize the project
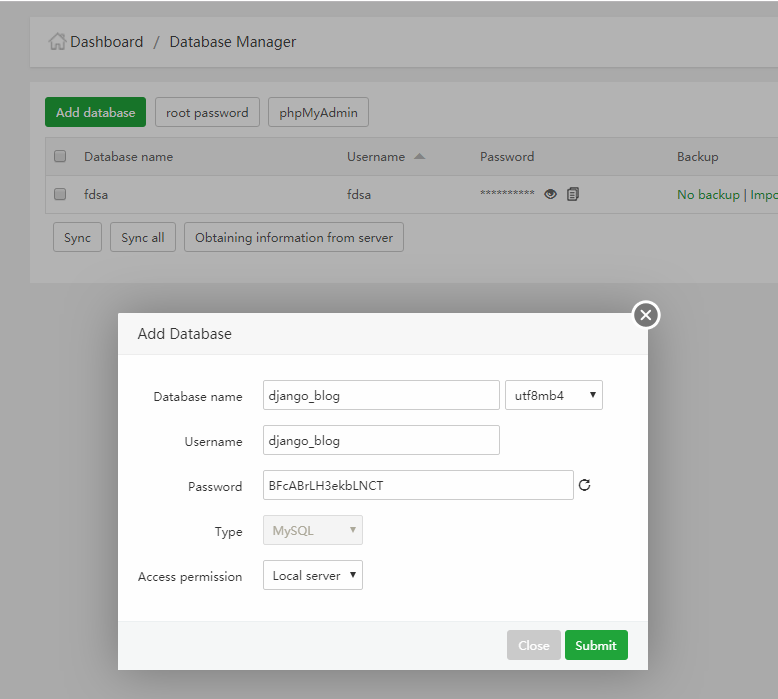
5. According to the project requirements, we first create the databases and modify the project database configuration.
create a database:
6.modify the project database configuration
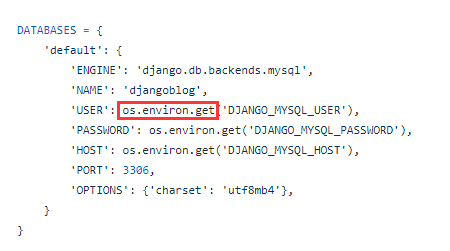
The default database configuration is to get the database account and other information from the environment variables, we refer to the installation tutorial to remove the os.environ.get method
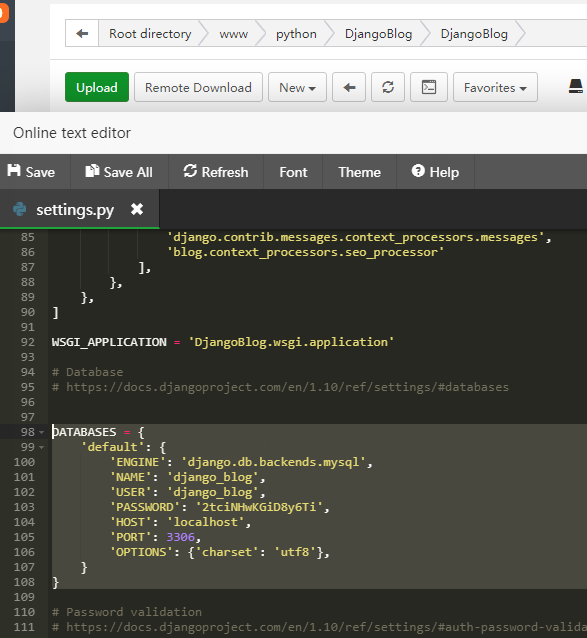
Go into the project’s virtual environment and execute the following command
Go into the project’s virtual environment:
source /www/python/DjangoBlog/django_blog_venv/bin/activate

Now execute the following command :
cd /www/python/DjangoBlog/ #your project dir
./manage.py makemigrations
./manage.py migrate
Create the SuperAdmin:
./manage.py createsuperuser
Create test data:
./manage.py create_testdata
Collect static files:
./manage.py collectstatic --noinput
./manage.py compress --force
Now we can access our blog using http://192.168.1.199:8099
